
There is a moment with a starling when it turns its head and the black simply gives way — green, then purple, then a deep petrol blue. Nothing about the bird has changed except the angle. That is the whole trick with iridescence, and it is why so many otherwise sharp photographs of starlings, mallards and magpies come home looking flat and dull. You are not really photographing pigment. You are photographing the way light bends.
Iridescence Is Geometry, Not Pigment
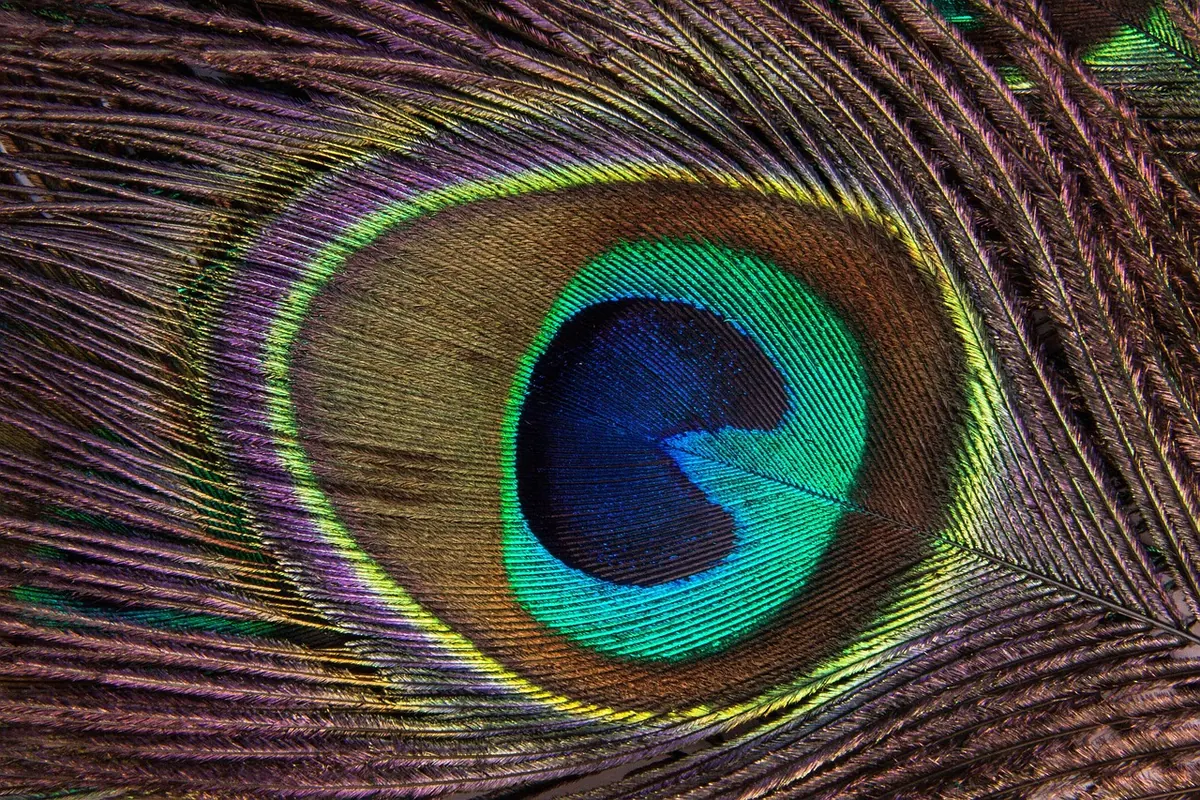
Iridescent colour in feathers is structural. Microscopic layers of melanin inside the feather barbules interfere with light, so what you see depends on the angle the light arrives at and the angle you view it from. Move half a metre to the left and a lapwing's back can shift from olive green to violet-purple.
The practical consequence is blunt: overcast light, which birders love for detail, is the enemy of sheen. Diffuse light arrives from everywhere, so there is no single angle to exploit and the iridescent patch reads as black or brown. Flat light gives you feather texture; direct light gives you colour. You need both in your repertoire, and you need to know which one the day is offering before you set off.
Working the Light
Three arrangements are worth knowing.
Sun behind you
The safest option. Point the lens roughly down the light path and the iridescent patch lights up with almost no effort. It suits starlings on a wall, pheasants on a field margin, mallards on a park lake. The trade-off is flatter, contrastier light and a risk of a bland background, so look for a dark backdrop — a hedge, a shadowed bank, a ploughed field — to make the colours sing.
Side light
Morning and late afternoon sun arriving at roughly 30 to 60 degrees to your lens axis sculpts a bird and reveals sheen gradually as it moves. This is often the most attractive light for lapwings and shelduck, because part of the plumage catches fire while the rest stays muted. Rooks and jackdaws in a rookery respond well to it too.
Backlight
Harder, but capable of the best results. With the sun in front of you, light skims across the feather surface and the sheen appears as a rim or a glowing edge — magpie tails, cormorant backs, a kingfisher's crown. Protect the lens with a hood, watch for flare, expose for the highlights rather than the whole frame, and accept that the bird may fall towards silhouette.
Camera Settings That Hold On to Colour
Iridescence lives in a narrow band of highlights, and those highlights clip easily. Lose them and the hue is gone for good. A few habits make a real difference:
- Shoot RAW. Raw files give you room to recover colour sitting close to the clipping point; JPEGs discard it.
- Expose for the bright patch, not the average scene. Use highlight warnings and dial in around −1/3 to −1 EV if the sheen is blowing out.
- Switch to spot or centre-weighted metering and meter off the bird, not the water or sky behind it.
- Stop down slightly. f/5.6 to f/8 usually keeps the iridescent patch sharp; wide open, the finest sheen softens.
- Keep the shutter up. 1/1000s and faster for feeding or bathing birds, 1/250s for a settled subject on a tripod or beanbag.
- Use a low ISO where the light allows. Noise eats subtle hue shifts.
- Single-point autofocus on the eye, and burst mode on. Head movement changes the colour, so the frame before and after the "perfect" one may both be better.
- Fix your white balance. The daylight preset, or a set Kelvin value, is more consistent than auto, which can drift and mute the sheen.
- Leave the lens hood on. Avoid stacked or cheap filters; stray reflections cost you contrast exactly where you need it.
Field Craft and Species to Practise On
Once the light is right, the work is small and physical. Get low — at or slightly below the bird's eye level — and move a metre or two at a time rather than walking straight in. Watch the head. Iridescence is most dramatic when the head or upperparts are turned at roughly 45 degrees to the light, so wait for the bird to turn rather than repositioning endlessly.
Predictable subjects help enormously, because you can return in different conditions and compare results:
- Starling — the classic. Fresh winter plumage, dark background, low sun.
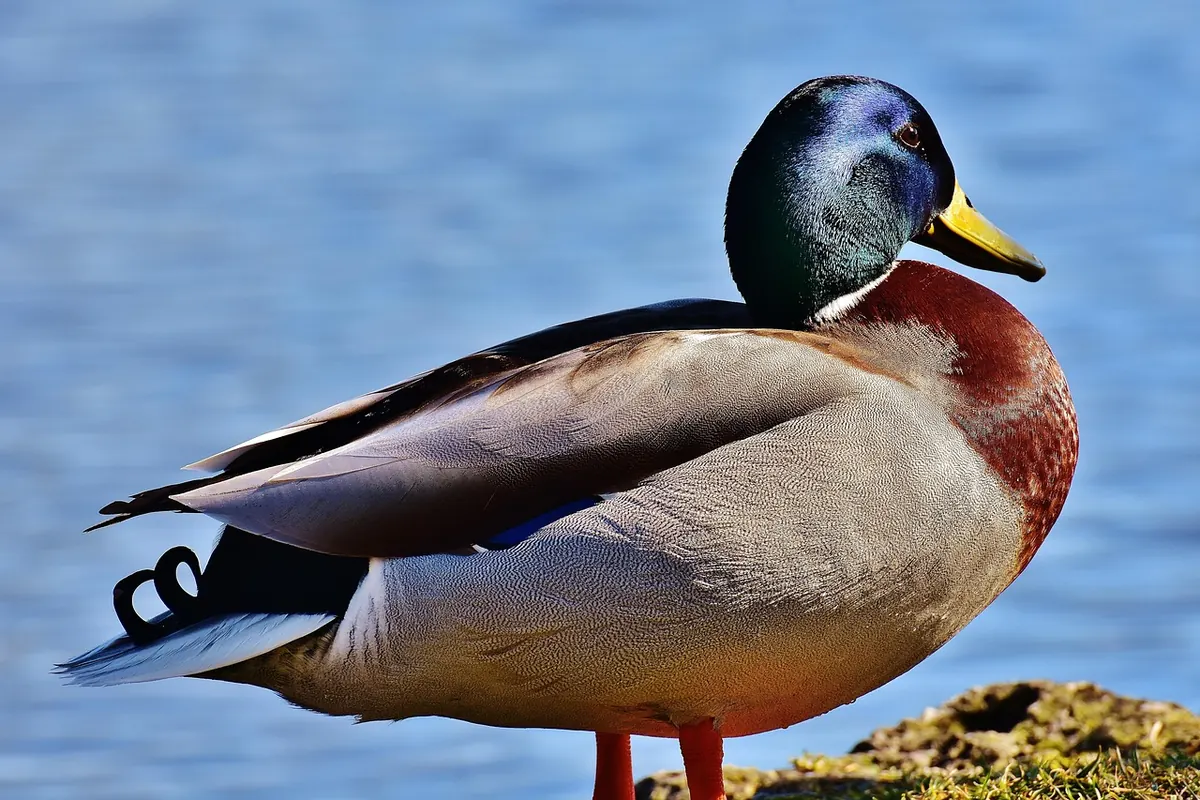
- Mallard drake — bottle-green head, best shot from a low angle in winter light.
- Lapwing — green and purple over the back and wing coverts on ploughed land.
- Magpie and rook — blue-green tail and purple mantle; backlight is worth the effort.
- Pheasant — copper and green neck in field margins through the winter.
- Shoveler, teal and shelduck — compact, high-sheen heads on open water.
Timing and Feather Condition
Feathers wear. A starling in July looks scruffy and muted beside the same bird in December, because the barbules that produce the interference have been abraded. Most UK passerines and wildfowl are at their most spectacular in the months after the autumn moult, which is one more reason to favour short winter days over long summer ones. Low, raking sun is standard between October and
Photo: stux / Pixabay
Related posts
More stories you’ll love reading